Fix the grayed-out volume slider on your USB DAC
Your DAC reports no volume control, so macOS grays out the volume keys. A lightweight virtual audio driver and menu bar app give them back.
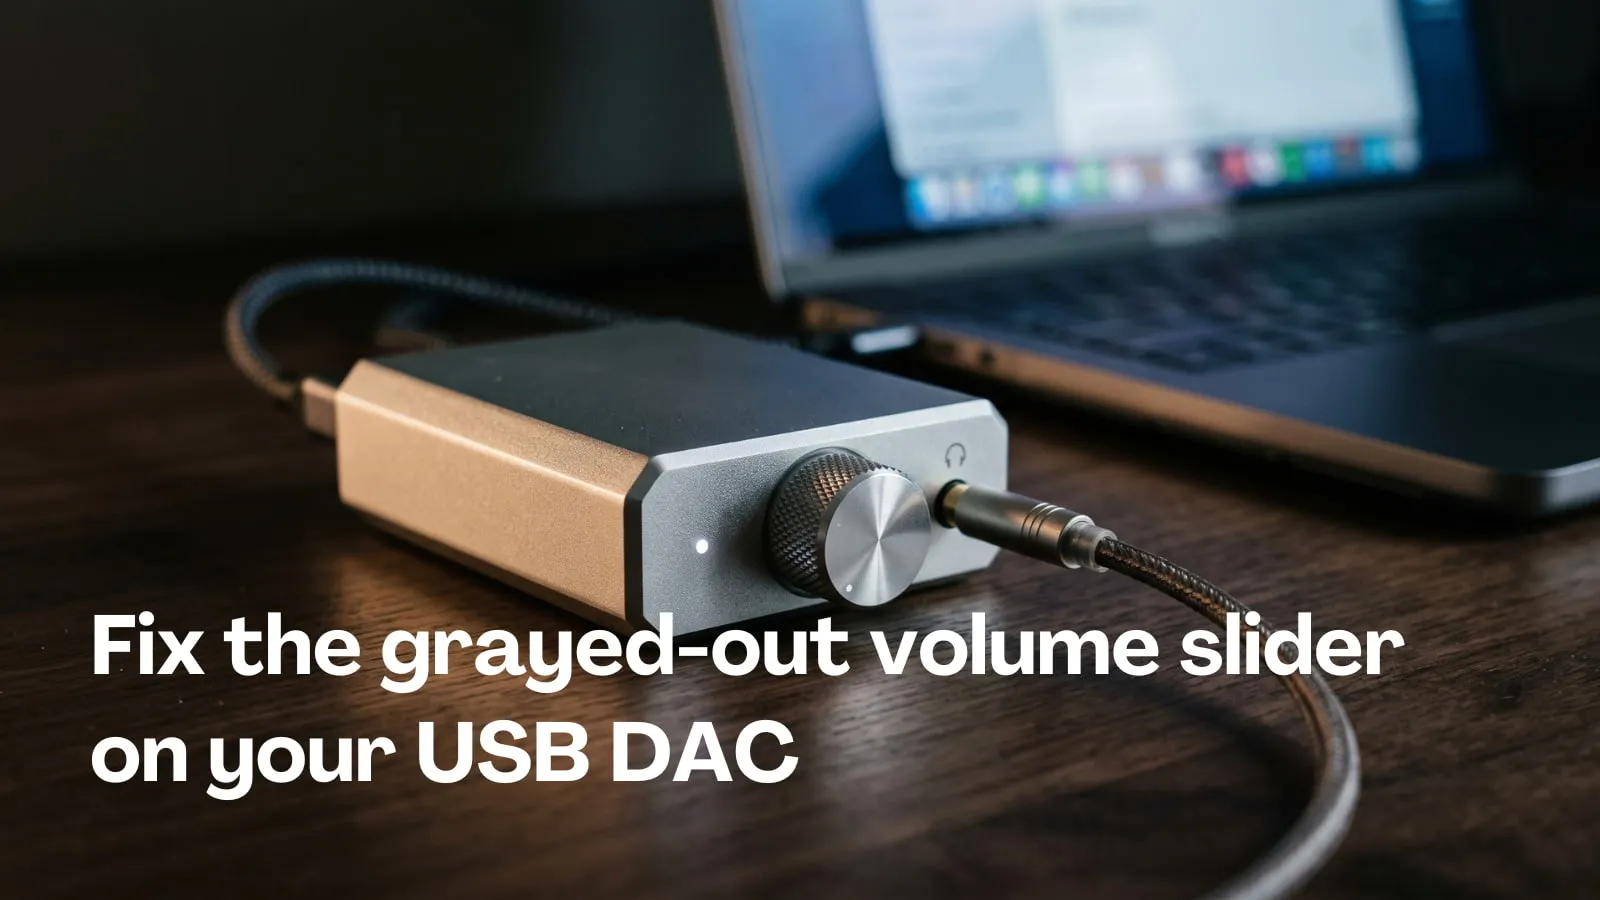
You plug in a USB DAC. It sounds wonderful. Then you press volume-up and nothing happens. You open Control Center and there it is: the volume slider, grayed out and untouchable.
Your Mac is not broken. Neither is the DAC. They just disagree about who owns the volume knob, and macOS always loses that argument politely.
Why macOS gives up on your DAC
When your Mac picks an output device, it asks it a simple question: can you change your own loudness? Devices with a hardware volume control say yes. Your MacBook’s built-in speakers say yes. The DAC says no: it ships no volume control at all, so macOS disables the keys, the HUD, and the slider. Nothing you press will make macOS try.
I confirmed this by asking Core Audio directly. Every working output on my desk reports a volume control. The DAC reports none:
MacBook Pro Speakers   VolumeScalar: present
USB Audio Interface    VolumeScalar: present
uDAC-3 Async           VolumeScalar: absent
That absent line is your entire problem in one word.
The tricks that do not work
Audio MIDI Setup has a classic workaround: bundle your DAC into a Multi-Output Device so sound reaches two destinations at once. The combined device inherits “no volume control” from its DAC half, so the keys stay dead. You traded a missing knob for a bigger missing knob.
Buying different hardware works. Some DACs expose hardware volume. Yours may not, and you already own this one.
System-audio utilities exist too. A few paid apps take over all sound on the Mac to add EQ and per-app mixing. Real products, but heavy machinery when all you want is for F12 to do something.
The actual fix: lie to macOS about the knob
macOS only needs the selected device to report a volume control. It never checks whether that control touches real hardware.
To solve this cleanly, I built Passthru. It has two pieces:
- A lightweight Core Audio HAL driver (
Passthru.driver, written in C++ on libASPL). To macOS, it looks like a native sound card with working volume and mute controls. It registers an output stream (where apps play and macOS applies its native volume scaling) and an input stream (which serves the audio back to the engine). - A menu-bar engine (written in Swift). It creates a private Core Audio aggregate device with your physical DAC as the master clock and Passthru as a member. Because both share the same clock domain, a single IOProc copies samples from the virtual input to your DAC in the exact same cycle—no drift, no jitter buffers, and no resampler in the path.
The flow looks like this:
apps -> Passthru driver (macOS turns its knob here)
              |
              v
       Passthru engine  --(samples unchanged)--> your DAC --> your ears
When you press volume-down, macOS turns Passthru’s native volume knob, which quietly scales the samples before they reach the engine. Your ears hear exactly what you expected: quieter music. Press mute and the stream goes silent. The HUD, the Control Center slider, the keyboard keys—all of it works natively because from macOS’s perspective, everything is normal.
At full volume (unity gain), the engine changes nothing: samples in, samples out, bit for bit. No resampler sits in the path, and there is no EQ or enhancement stage either.
As a bonus, because Passthru owns both the driver and the engine, it adds something macOS has always lacked: per-app volume control. You can attenuate a loud browser tab or background stream without touching your master volume.
Using it
Getting it running takes three steps:
- Install the driver: Clone Passthru, build the HAL plug-in, and run the install script:
The installer copiescmake -B driver/build -S driver && cmake --build driver/build sudo ./install.shPassthru.driverto/Library/Audio/Plug-Ins/HALand restartscoreaudiodso macOS recognizes it immediately. - Launch the engine:
cd engine && swift run Passthru - Route audio:
- In the menu bar, click the Passthru waveform icon and choose your DAC under Plays to.
- In macOS Sound settings or Control Center, select Passthru as your system output.
Play something. Turn the volume up with your keyboard keys, like a person.
Good to know
The menu-bar app stays running while you listen. It is the bridge between the Passthru virtual driver and your physical DAC. If you ever quit it, simply select your DAC directly in Control Center again.
If the engine ever stops mid-listen, you get clean silence, not loud noise. Relaunch it, or pick another output in Control Center.
Per-app mixing: Click the menu bar icon while audio is playing to see individual sliders for active applications under Playing now. You can balance background audio pre-mix while your master system volume remains untouched.
macOS remembers your volume level per device, so whatever volume you left it at greets you next time.
DACs are not the only offenders. HDMI and DisplayPort monitors report “no volume control” too, and the exact same setup works for them.
On sound quality: at unity gain, nothing in the path touches your samples—it is completely bit-transparent. Below that, turning the volume down is one multiply per sample, which is the same math every software volume slider does.
Why the knob was gray and nobody fixed it
The whole saga fits in one paragraph. macOS trusts each device’s self-description completely. A device without a volume control gets no volume UI, by design, and there is no settings checkbox to override it. The workaround is not to fight the DAC but to change who macOS talks to: put a well-behaved pretend device in front of it and move the bytes along behind the scenes.
Passthru is open source on GitHub: martinhjartmyr/passthru. The volume keys have worked ever since.